Connecting, Installing and Creating
Hardware SetUp – Computer/Laptop
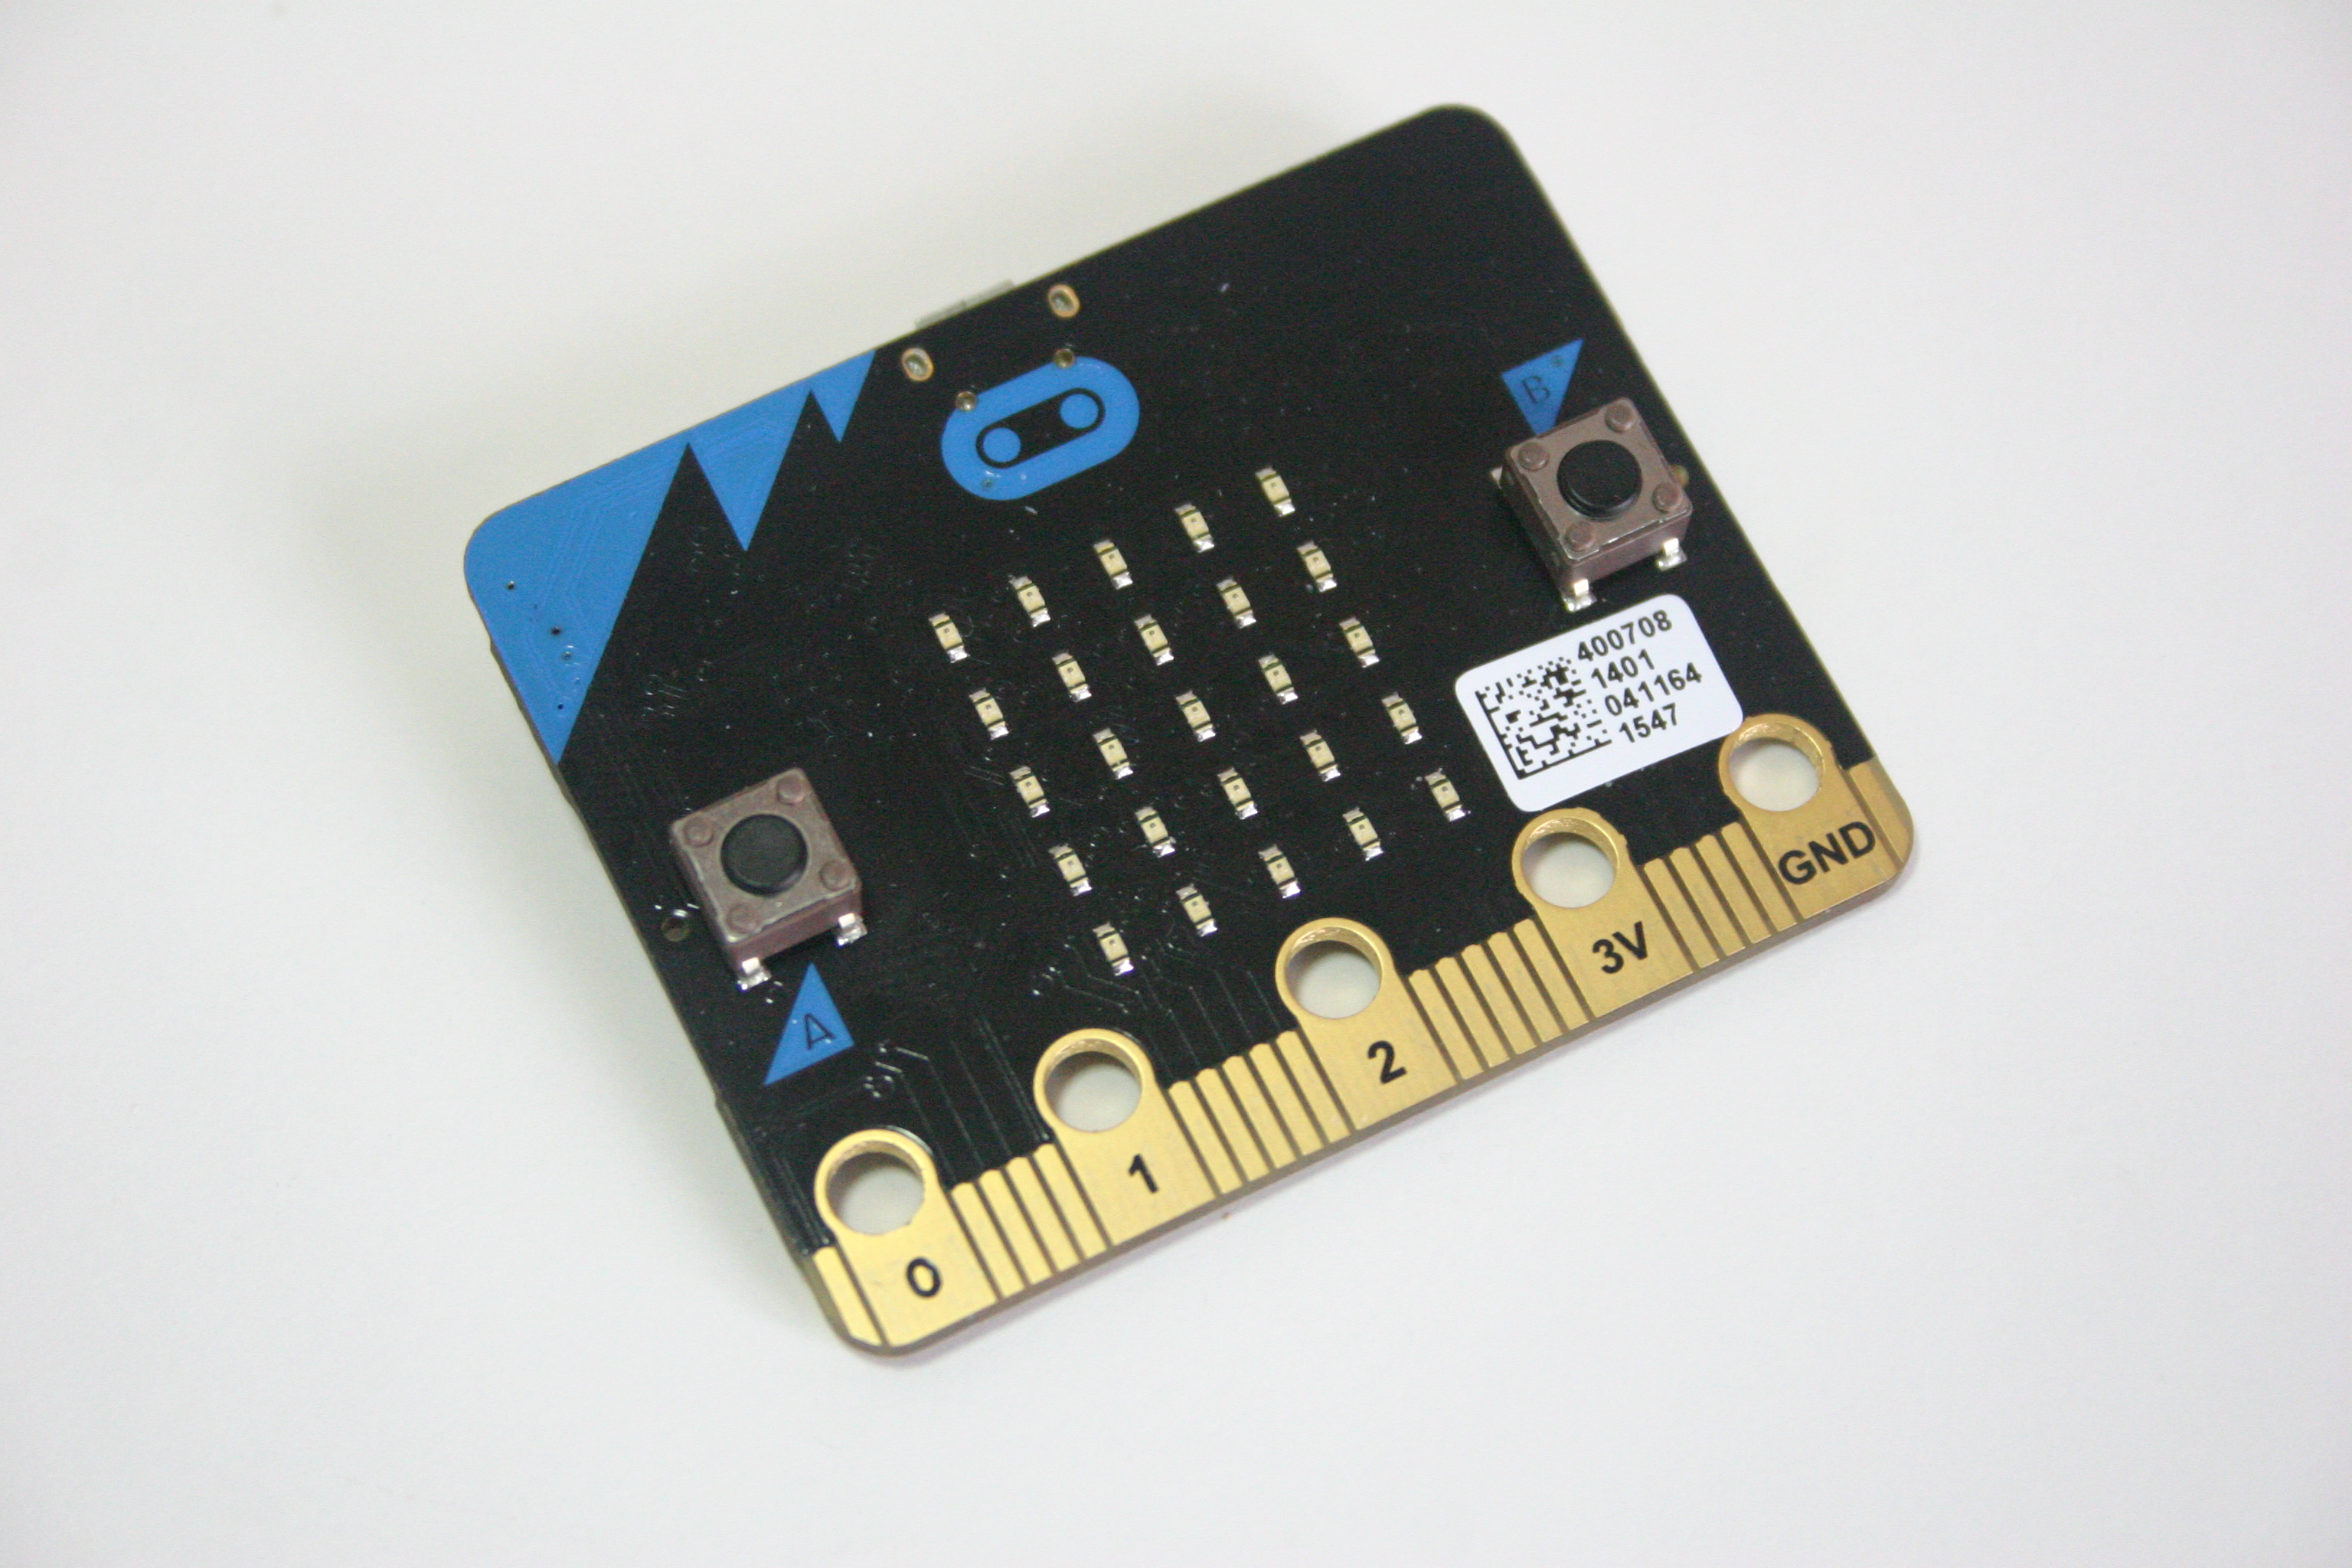
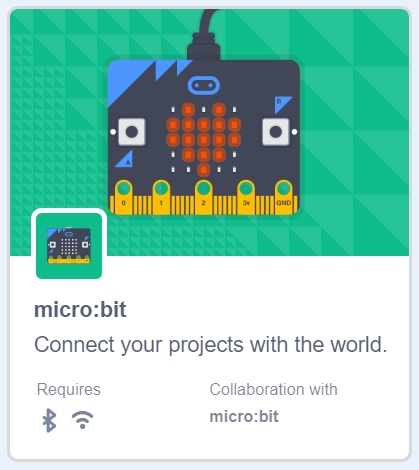
To get going you are going to need a Microbit, battery holder, two AAA batteries and a USB lead. These can all be bought as a pack from under £15. Do be careful about USB phone charging leads, which may not pass data as these pins aren’t wired.
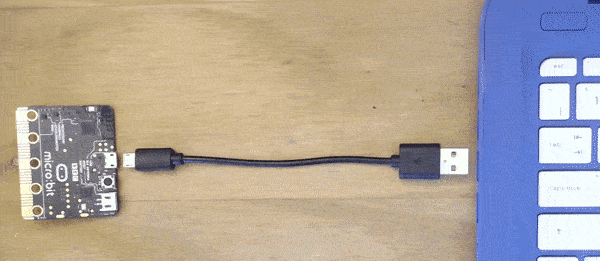
Connect the micro USB connector to the board and the larger end plugs into your laptop.
Plug in the battery holder to the microbit and add the batteries. (This is not neccessary as the Micro:Bit will power from the computer, however this will mean that you can unplug and play!
Software Setup
The simplest way in with pupils is to use what they already know, which is in most cases Scratch 3 which is available at http://scratch.mit.edu/
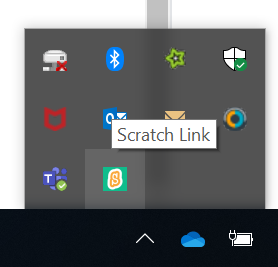
1. ScratchLink
To connect Scratch to multiple devices, MIT have created a software link called Scratch Link which is available for Windows 10 or MacOS
… on the Microsoft Store here or Mac App Store here
… or as a direct download and install here
2. Drop the Hex File on the MicroBit
Click Here to download the Scratch Micro:Bit hex file.
Extract the hex file
Copy the extracted .hex file to the MicroBit on D:/ in File Explorer
3. Open Scratch 3 and load the extension
Once ScratchLink is running, fire up your favourite browser and open up the Scratch Website
https://scratch.mit.edu/projects/editor/

Micro:Bit Extension
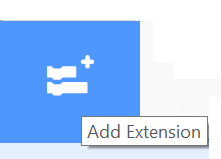
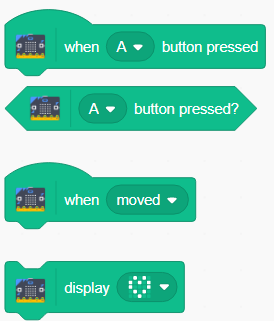
To get the microBit instructions you need to add the extension by clicking on the icon in the bottom left of the Scratch screen. Click on Micro:Bit. It will hopefully find your microBit and then add a new set of blocks to the menu on the left!
First Programs
So once you’re set up, here are a couple of programs to try.
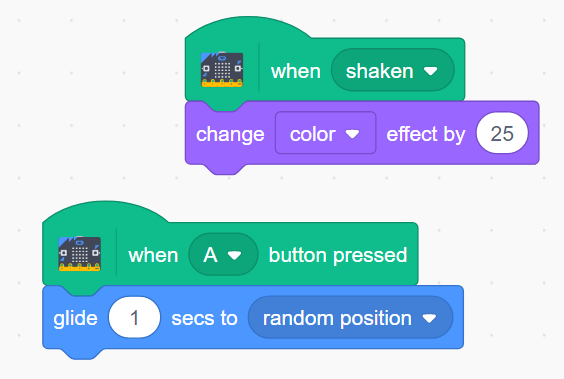
You have all the power of scratch and the physical interactivity of the MicroBit. Make it a game controller, presentation clicker, step counter or better still – you decide!